Welcome back to our new animation series. In this post, we will delve into everything you need to know about css pulse animation. But what exactly is pulse animation? It’s a type of css animation that creates an impulse on any HTML element. This animation is often incorporated into websites to highlight certain points, encouraging user interaction. It’s commonly used for elements like the notification bell icon, sign-up buttons, and hamburger icons. Today, we will learn about CSS Pulse Animation in a step-by-step manner, covering topics such as hover pulse animation, text pulse animation, and CSS pulse animation on click. To create any type of pulse animation, we will need to use the CSS keyframe scale rule and Opacity property.
Also Read:
Simple Text CSS Pulse Animation
This is a simple text pulse animation that can be applied to any HTML element. The keyframes property in CSS is used to define the animation.
Html Code For Text Pulse:
<div class="element">Pulse Animation</div>Text Pulse Animation CSS
The CSS code defines a keyframes animation named “pulse”. The animation changes the scale of an element over time. At the start (0%), the scale is 1 (normal size). At the halfway point (50%), the scale is 1.1 (10% larger). At the end (100%), the scale returns to 1. The animation is applied to any element with the class “element”, and it lasts for 2 seconds and repeats indefinitely (infinite).
@keyframes pulse {
  0% {
    transform: scale(1);
  }
  50% {
    transform: scale(1.1);
  }
  100% {
    transform: scale(1);
  }
}

.element {
  animation: pulse 2s infinite;
}Output:

How to create On Hover CSS Pulse Animation?
Creating an on-hover CSS Pulse Animation involves using the CSS pseudo-class :hover. This pseudo-class is used to select and style an element when the user hovers over it. Remember, the Keyframe rule is same for it. Here’s how you can create pulse animation on hover:
@keyframes pulse {
  0% {
    transform: scale(1);
  }
  50% {
    transform: scale(1.1);
  }
  100% {
    transform: scale(1);
  }
}

.element:hover {
  animation: pulse 2s infinite;
}How to Create CSS Pulse Animation on Click?
To create a CSS Pulse Animation on click, we use CSS to design the animation and JavaScript to activate it on a click event. The animation is tied to a class, which is added to the element when it’s clicked, triggering the pulse effect.
Html Code:
<div class="element">Click me</div>CSS:
@keyframes pulse {
  0% {
    transform: scale(1);
  }
  50% {
    transform: scale(1.1);
  }
  100% {
    transform: scale(1);
  }
}
.clicked-element {
  animation: pulse 2s infinite;
}JavaScript Code:
JavaScript is necessary because CSS alone cannot detect a click event. We write a small JavaScript code that listens for a click event on the desired element. When the element is clicked, our JavaScript code adds the “clicked-element” class (which we defined in our CSS) to the clicked element.
document.querySelector('.element').addEventListener('click', function() {
  this.classList.add('clicked-element');
});Output:

CSS Pulse Animation Button
Creating a CSS Pulse Animation Button involves defining a button in your HTML structure and then applying CSS styles and animations to it. The button is styled to your preference, and a pulse animation is created using the @keyframes rule in CSS. This animation is then applied to the button, resulting in a pulsing effect. This can be particularly useful for drawing attention to a specific button, such as a call to action, on your webpage.
Html Code For Pulsing Button
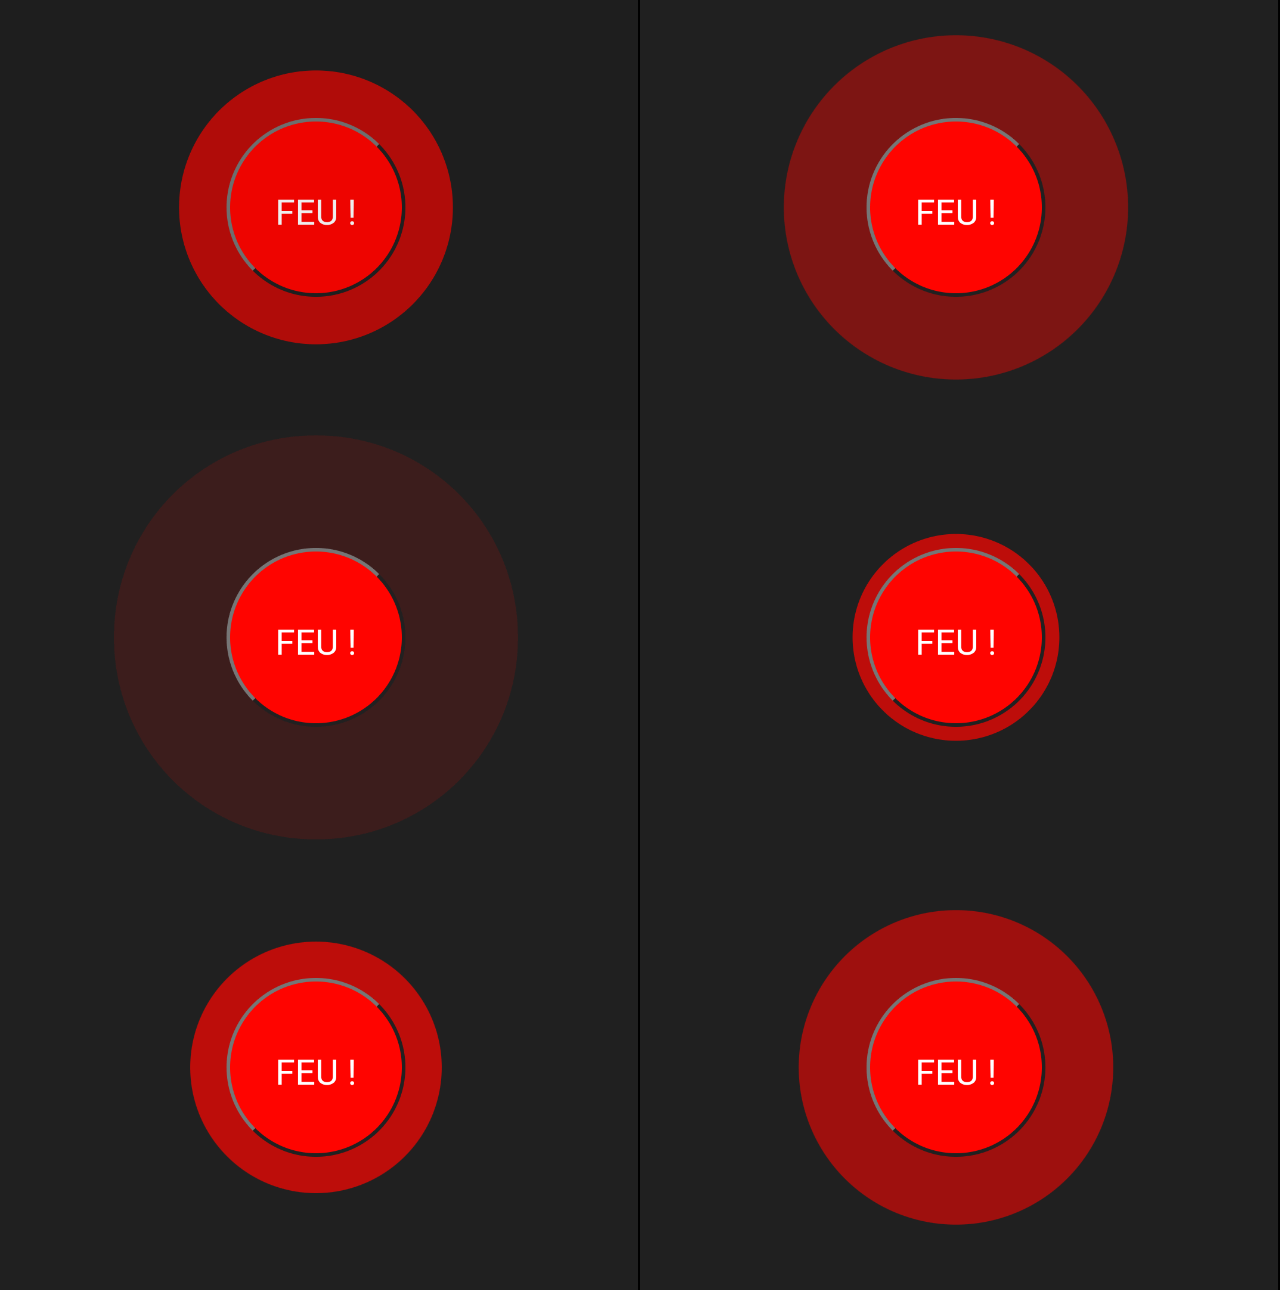
This is the basic HTML structure for the pulse button. It consists of a div element with a class name of “center”. Inside this div, there’s a button element with a class name of “pulse”. The text inside the button is “FEU !”.
<div class="center">
    <button class="pulse">FEU !</button>
</div>CSS Styling For Pulse Button
The CSS code styles the HTML elements. The “center” class uses absolute positioning to place the button at the center of the page. The transform: translate(-50%,-50%); line ensures the button is centered both vertically and horizontally.
body
{
  margin: 0;
  padding: 0;
  background: #202020;
}

.center
{
  position: absolute;
  top: 50%;
  left: 50%;
  transform: translate(-50%,-50%);
}
.pulse
{
  width: 100px;
  height: 100px;
  background: #ff0400;
  border-radius: 50%;
  color: #fff;
  font-size:20px;
  text-align: center;
  line-height: 100px;
  font-family: verdana;
  text-tranform: uppercase;
  animation: animate 2s linear infinite;
}The “pulse” class styles the button. It sets the width, height, and background color of the button. The border-radius; line makes the button circular. The text inside the button is styled with color, font-size, text-align, line-height, and font-family properties. The text-transform: uppercase; line converts the text to uppercase. The animation: animate 2s linear infinite; line applies the “animate” keyframes animation to the button. The animation lasts for 2 seconds, has a constant speed (linear), and repeats indefinitely (infinite).
Output:

CSS Pulse Button Animation
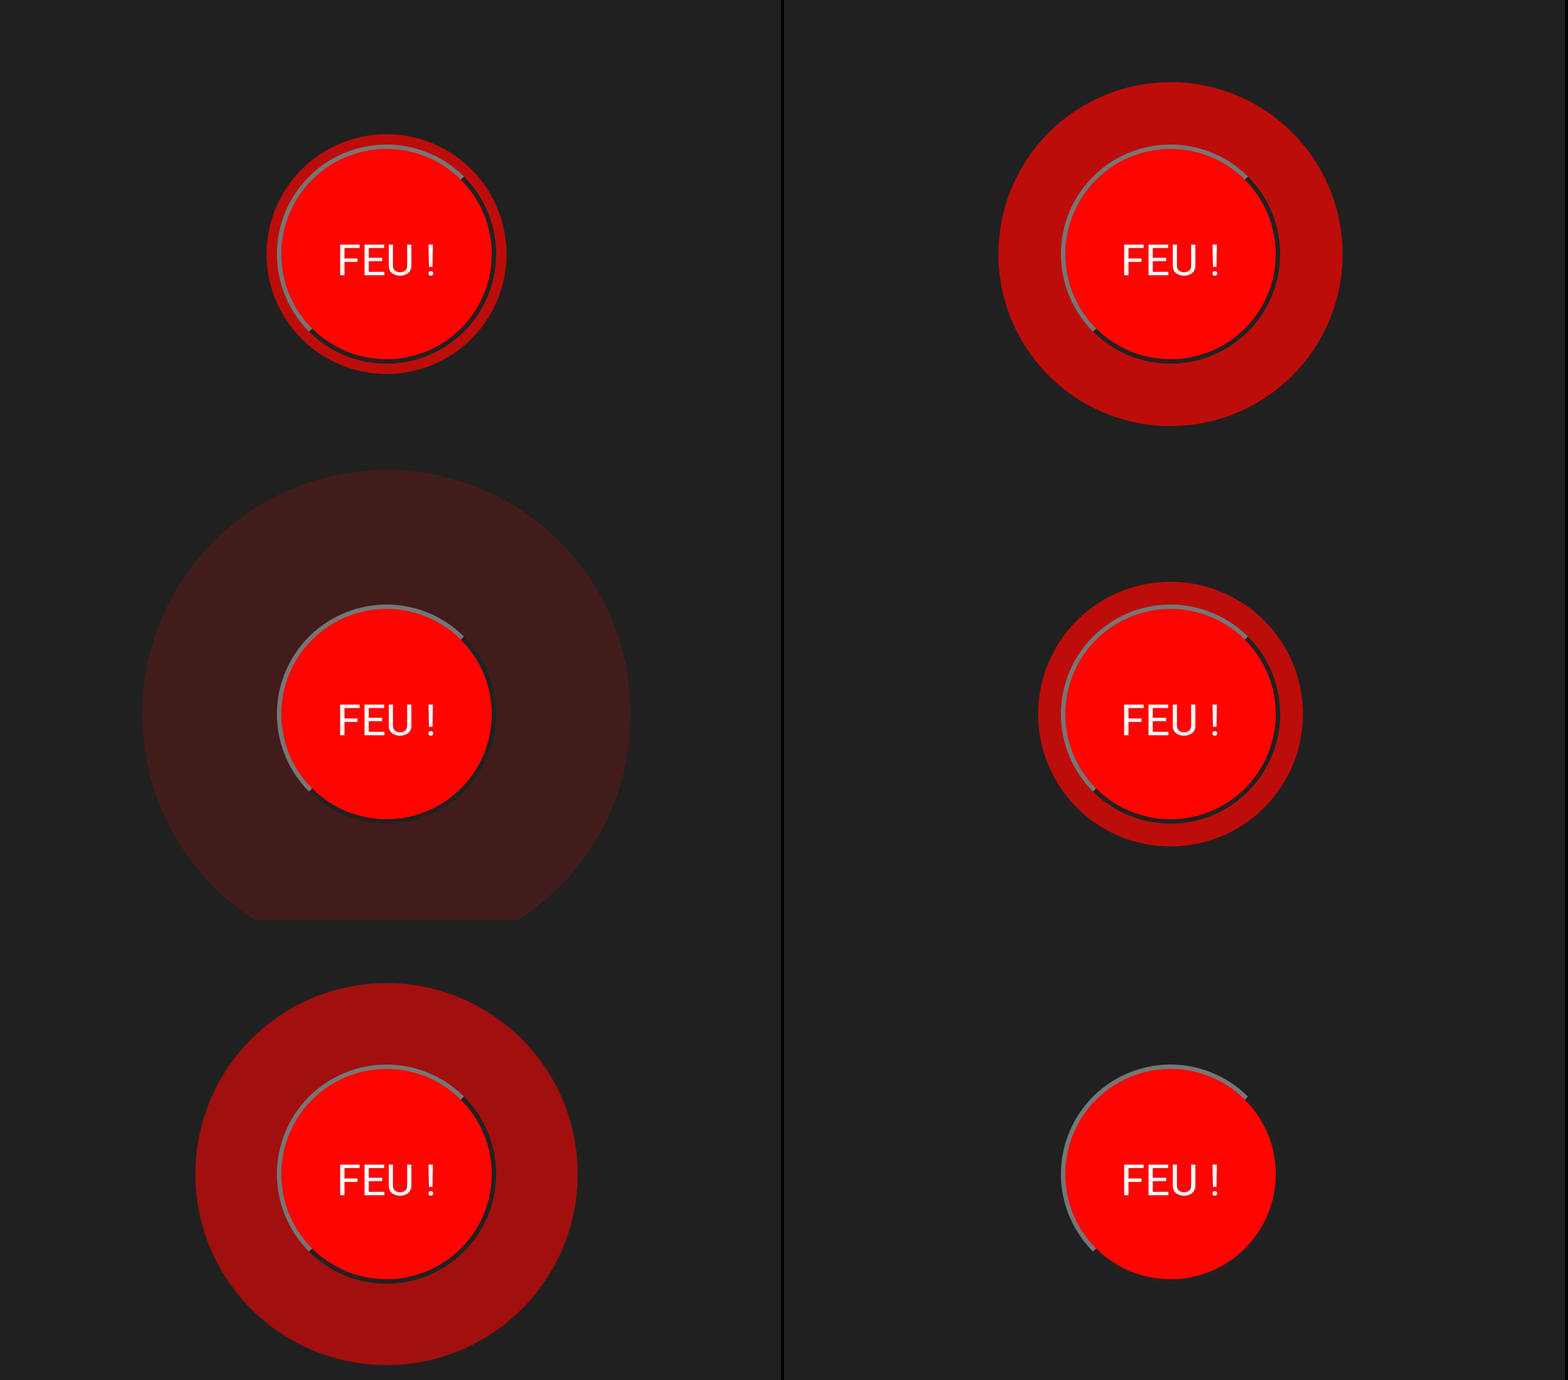
The @keyframes animate rule in the CSS code is defining an animation named “animate”. This animation is changing the box-shadow property of the button over time, creating a pulsing effect.
The box-shadow property applies one or more shadows to an element. It is defined by X and Y offsets relative to the element, blur and spread radii, and color. In this case, two shadows are applied, and their spread radius and color are animated.
Here’s a breakdown of the keyframes:
- 0%: At the start of the animation, both shadows have a spread radius of 0 (meaning they are not visible), and their color is a semi-transparent red (
rgba(255,4,0,.7)). - 40%: At 40% of the animation duration, the first shadow is still not visible, but the second shadow has a spread radius of 30px and the same semi-transparent red color.
- 80%: At 80% of the animation duration, the first shadow is still not visible, but the second shadow has a larger spread radius of 70px and is now fully transparent (
rgba(255,4,0,0)), making it invisible. - 100%: At the end of the animation, the first shadow is back to its initial state, and the second shadow has a spread radius of 30px and is fully transparent.
@keyframes animate
{
    0%
  {
    box-shadow: 0 0 0 0 rgba(255,4,0,.7), 0 0 0 0 rgba(255,4,0,.7);
  }
    40%
  {
    box-shadow: 0 0 0 0 rgba(255,4,0,0), 0 0 0 30px rgba(255,4,0,.7);
  }
    80%
  {
    box-shadow: 0 0 0 0 rgba(255,4,0,0), 0 0 0 70px rgba(255,4,0,0);
  }
    100%
  {
    box-shadow: 0 0 0 0 rgba(255,4,0,.7), 0 0 0 30px rgba(255,4,0,0);
  }
}This sequence of keyframes creates a pulsing effect, where the button seems to emit a red glow that expands and contracts. The glow is created by the second shadow, which changes its spread radius and transparency over time.
Output:

