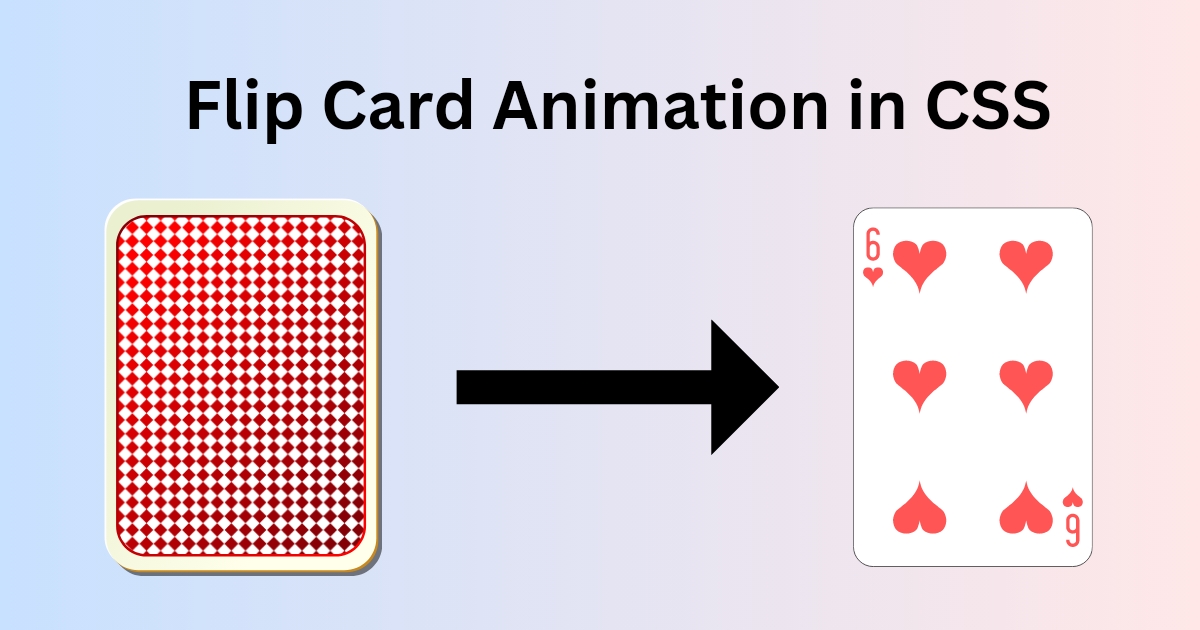
If you’re feeling overwhelmed and wondering how to display more content in a limited space, CSS cards might be the solution you’re looking for. Among various card designs, the flip card stands out, especially when space is at a premium. You might be unfamiliar with flip cards. Essentially, a flip card is a two-sided card that displays different information or images on each side. The card can be interactively flipped over to reveal the content on the other side. You might be wondering how to design such a card. Don’t worry, it’s simpler than you think. In this article, I will guide you through the process of creating a card flip animation.
How to create a Flip Card Animation? | How to Make a CSS Transition Card?
To create a card flip animation using HTML and CSS, you need to define a container with two sides: front and back. Each side is styled and positioned absolutely within the container. The back side is initially hidden by rotating it 180 degrees. When the container is hovered over, it rotates, revealing the back side. The smoothness during the rotation of the flip card is achieved through CSS transitions, providing a seamless and interactive user experience. This is why it’s also referred to as a CSS Transition Card.
Also Read More Examples:
HTML Code For Flip Card
First, I created three <div> elements. The first one was the main container, and I gave it the class name “card”. Inside this main container, I created two more <div> elements, which I referred to as “faces” of the card. I gave them the class names “front” and “back“, respectively.
<div class="card">
  <div class="card-face front">
    Content for the front of the card
  </div>
  <div class="card-face back">
    Content for the back of the card
  </div>
</div>Flip Card CSS Code
Next, I moved on to the styling and animation part, which I achieved using CSS. I started by styling the card container. I set its width and height , positioned it relatively, and applied a perspective of 1000px to give the flip animation a 3D effect. I also used transform-style to allow the child elements (the faces of the card) to exist in a 3D space. To ensure a smooth flip transition, I used transition: transform .
.card {
  width: 100px;
  height: 100px;
  position: relative;
  perspective: 1000px;
  transform-style: preserve-3d;
  transition: transform 0.6s;
}Then, I styled both faces of the card. I made them fill the entire card, positioned them absolutely within the card container, and hid the side of the card that was facing away from the viewer using backface-visibility: hidden;.
After that, I styled the front and the back of the card. I gave the front of the card a red background and the back a blue one. I also rotated the back of the card 180 degrees around the Y-axis using transform: rotateY(180deg);, which meant it started out flipped over.
.card-face {
  width: 100%;
  height: 100%;
  position: absolute;
  backface-visibility: hidden;
}

.front {
  background: red;
}

.back {
  background: blue;
  transform: rotateY(180deg);
}

.card:hover {
  transform: rotateY(180deg);
}Finally, I created the flip effect. I used transform: rotateY(180deg); on hover over the card, which rotated the card 180 degrees around the Y-axis. Because the back of the card started out flipped over, this rotation made the back of the card visible.
.card:hover {
  transform: rotateY(180deg);
}How to Center a Flip card in CSS?
If you want to center the flip card , you can use CSS Flexbox on the parent container. In my case, the ‘body’ tag is the parent container, so I targeted it in CSS and applied display: flex;, justify-content: center; and align-items: center;.
body {
  display: flex;
  justify-content: center;
  align-items: center;
}